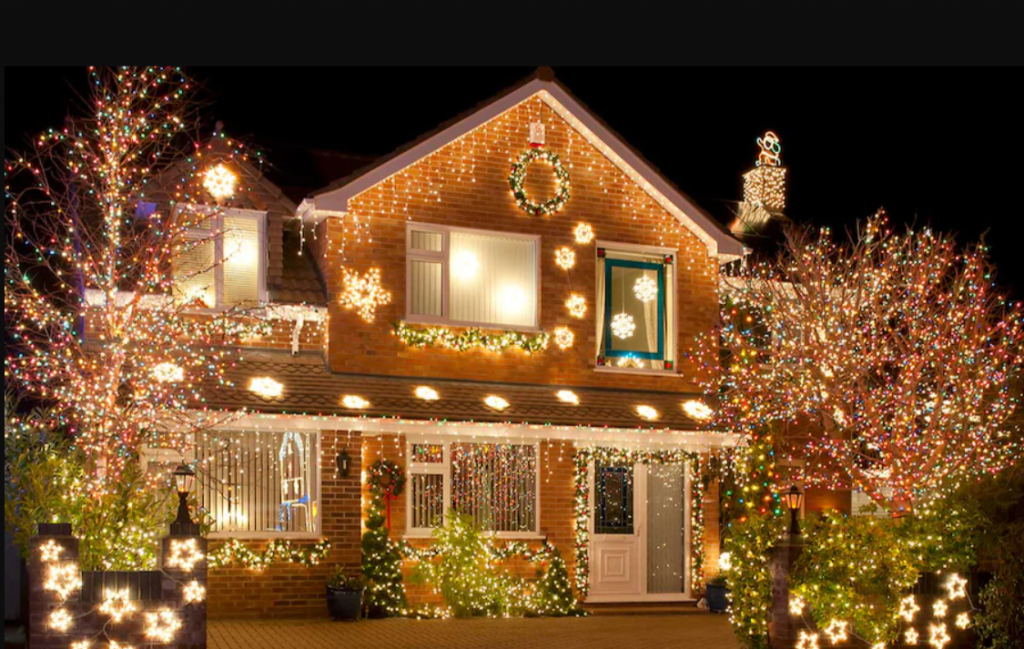
Christmas lights bring joy and warmth to the holiday season, but the process of installing them can sometimes be daunting. However, fear not! With the right tips and tricks, you can master the art of Christmas light installation like a pro. In this blog post, we’ll explore 15 ingenious hacks to make your Christmas light installation process smoother and more enjoyable.
Preparation is Key:
Plan Your Design: Before you start hanging lights, sketch out your design on paper or use a virtual design tool. This will help you visualize the end result and ensure you have all the necessary materials.
Check Your Lights: Test your lights before you begin to ensure they’re working properly. There’s nothing worse than hanging up a strand only to find out it doesn’t light up!
Gather Your Tools: Make sure you have all the tools you’ll need, such as extension cords, clips, and a sturdy ladder, before you start the installation process.
Installation Hacks:
Use Clips Instead of Nails: Instead of hammering nails into your house to hang lights, opt for clips designed specifically for this purpose. They’re easier to use and won’t damage your siding.
Safety First: Always prioritize safety when installing Christmas lights. Use a sturdy ladder, wear non-slip shoes, and never overload electrical outlets.
Conclusion:
With these 15 Christmas light installation hacks, you’ll be well on your way to creating a festive wonderland that will dazzle your friends and neighbors. Remember to plan ahead, use the right tools, and prioritize safety throughout the process. And if you’d rather leave the hard work to the professionals, don’t hesitate to reach out to Bellows Window Cleaning for expert assistance. Happy decorating!
